How to Build a Snow Fort
After a hard day’s work you hunker down into your sleeping bag and immediately notice the cozy quiet and surprising warmth. You close your eyes and breathe out a crisp breath. It kind of feels like you are in the embrace of winter, but not in the way you might think. It’s comforting, like you are underneath a giant snowy blanket. And you kind of are really, because you are going to sleep in the snow fort you built yourself!
There are various kinds of snow forts that you can build to protect you from the elements, whether in a survival situation or for fun. Shelter is actually one of the most important things for survival in an emergency situation, especially in the winter. A proper shelter could mean the difference between you making it through the night or not. So, it is good to know what your options are.
Different Types of Snow Shelters
Depending on your situation, different snow shelters can be better than others. Here are some examples of snow shelters you can make. We will give a short description of 4, and go into depth about how to build a quinzee!
Snow Cave
This is a simple snow fort where you simply burrow into a snow bank or snow drift. This can be a relatively quick way to make a shelter if you can find a snow drift large enough. Dig yourself a slightly smaller entrance and a larger space inside. If this is a survival situation you will have to be careful to not get too wet!
Now, it is important to add here that though many kids like to do this in the snow banks left behind by snow plows, it is not safe. You don’t know when the snow plow could come back, adding more snow and causing the collapse of the snow cave.
Pros: Easy and quite quick to build. No piling of snow or cutting of snow blocks required.
Cons: You have to find a snow drift big enough. You can get quite wet digging in the snow. You are not sure about the stability of the snow drift.
Tree Pit Snow Fort
This is a great survival snow fort for an area with a lot of snow fall. To make one, you find a large tree and dig downwards around the tree until you just about reach the ground. Then you can take tree branches and create yourself a little roof. This will help keep warmth in and keep wind and more snow out.
Pros: Fast and easy to make. Great for a survival situation. No piling of snow or cutting of snow blocks required.
Cons: Has to be an area with quite a lot of snow (at least as tall as you sitting up). You will likely have to stay in a sitting position inside. It is harder to get airflow into this type of shelter so you could run the risk of running a bit lower on oxygen through the night.
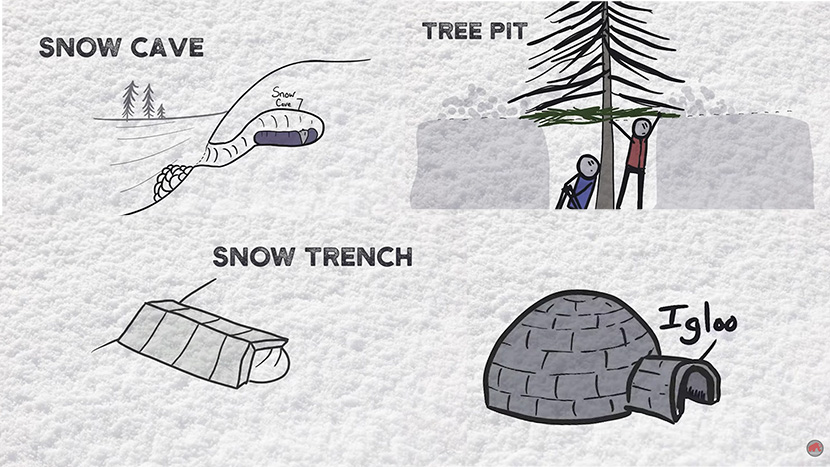
Snow Trench
The snow trench is made by digging a trench into the snow and covering it with blocks of snow, propped up by sticks, in a tent-like fashion. A snow trench is a favorite for many survival enthusiasts because it is effective and you do not have to dig out very much snow. So you can have a great shelter without risking getting wet. However, you will have to cut out snow blocks so you need a saw.
Pros: Good air flow while still being warm. Do not have to pile much snow and dig it out, which saves energy and keeps you dry.
Cons: Need a saw/snow saw and enough strong sticks to support your blocks. Best for only one person to achieve the “tenting” of blocks.
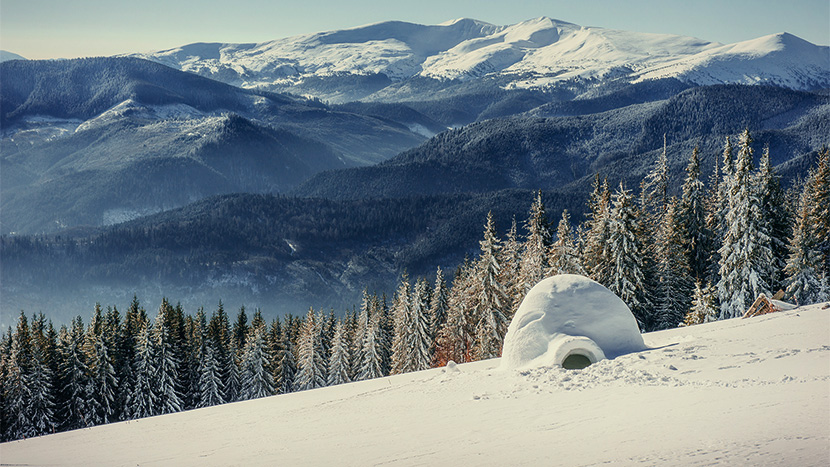
Igloo
Though it is unlikely that you will be building an igloo in a survival situation, it is definitely the most famous “snow fort” and can be a really fun experience to build. Not to mention that some indigenous inuit cultures used them as homes for a long time. In fact, many still use them for temporary shelters while out hunting. Igloos consist of snow blocks stacked formed into a dome. they can be quite comfortable with just a few people’s body heat to warm them up. Igloos are often 6-8 feet across but can’t be too much bigger than this. If you make an igloo too big the self-supporting arch that is created when stacking blocks this way won’t be stable.
Pros: Larger of the snow forts and can be quite comfortable.
Cons: You must saw snow blocks. They take a long time to construct, and are difficult to do without multiple people.
How to Build a Quinzee
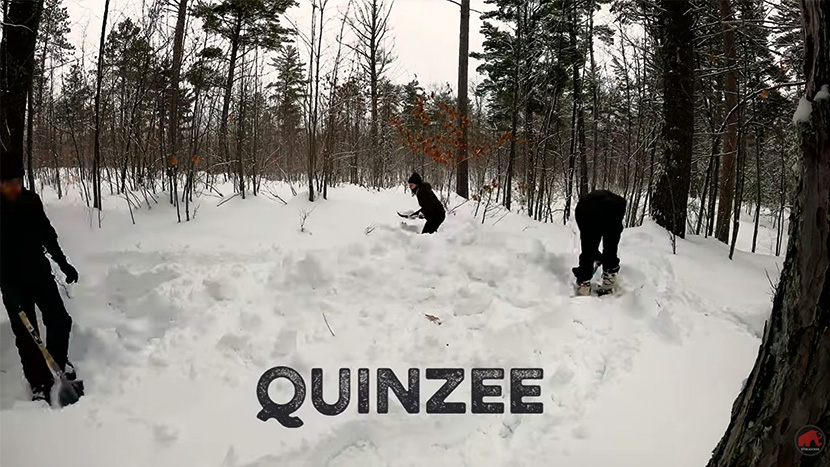
The feature for this piece is the quinzee, which is one of our favorite snow forts to build at winter camp. This is a great snow fort, especially for 2-3 people, that is sturdy, quite warm, and can be quite comfortable. On the cons side, they take quite a bit of effort to build and it is tough to do without shovels. Also, since you have to dig out a lot of snow you run the risk of getting wet. Here are the steps for how to build a snow fort known as a quinzee!
Pile and Pack
First find an area that has lots of snow, seems relatively flat and easy to get to from your fire and cooking area. Then you will pile up snow, pack it down, and repeat. Packing the snow helps it to recrystallize and form a solid structure that won’t cave in on you. Get ready for this to take up a large part of your day because you need lots of snow. You need it to be wide enough for you to fit yourself laying down, and tall enough to be able to sit up in, as well as leaving 1 foot of snow on every side to make sure it stays sturdy.
When you are sure you have enough well-packed-down snow you can move to the next step. However, a great survival tip that Greg Weiss always offers in his classes is this: once you think that you have done enough of a task, whether piling snow or gathering firewood, do 10 more minutes just to be sure.
Sticks Some Sticks!
Once you are satisfied with the size of your snow pile, you will take sticks that are a bit longer than a foot and stab them into the snow pile all overt. You can try to make sure you have a stick every 2 feet or so. This step helps later while you are digging out the inside of your fort, because when you reach a stick you know that you are about 1 foot from the outside and should stop digging. This ensures that you do not accidentally put holes in your walls and roof or compromise the integrity of your snow dome.
Let it rest
You have to let the snow fort sit some time so that you make sure it is solid. If the snow is more wet then it will need less time, maybe just a couple of hours, but if you have dry snow you will want to let it sit for as long as possible.
Let’s Dig!
Now that your snow pile has had some time to rest and solidify you can start digging out your sleeping quarters! This step is a lot of work and you will get wet. So if you are doing this make sure you have good waterproof winter gear and dry clothes for later. You can start digging on multiple sides if you have multiple people and cover up the other sides later. This will help you get the fort dug out much more quickly. It also helps to have someone go inside and toss the snow towards the entrance and have the other person move it out of the way.
For best results you’ll want to start digging at the base of your pile and then go slightly upwards to dig out a slightly raised sleeping platform. Don’t dig right to the ground as the snow is actually insulating. Realistically you only need enough space to be able to lay down inside but we recommend making it so that you can sit up inside to avoid feeling claustrophobic. If you choose to only dig from one side you should have at least a small air hole on the other side to help make sure that you will have enough airflow and oxygen inside.
Now your quinzee is ready for you to sleep in! I think you will find it is a really amazing experience! If you are interested in joining us for snow camp to try your snow fort building skills in person, check out our page here!