How To Make a Survival Bracelet
As humans, we like to be prepared for the unpredictable, such as if we end up lost in the wild. We may not always have the option of being prepared for a survival situation, but having just a few things on you when you go outdoors can make a huge difference. For example, wearing a survival bracelet, aka paracord bracelet, could provide you with plenty of cord to use if you end up needing it. This is one of our key survival tips! So, read on to see why you should have a paracord bracelet, and check out the tutorial!

Why a Survival Bracelet?
Cord of any kind is super useful for many things, and though you can make your own rope out of natural fibers, it usually isn’t quite as strong as the synthetic stuff. Additionally, making cord takes time, and you may need it quickly in order to make fire and shelter, some of your top priorities in a survival situation. You always want to have cord with you because with cord you can:
- Make better fires
- Set up shelters
- Fish
- Help you gather and carry supplies more comfortably
- And more
Paracord is your best bet as a survival rope. This is because it is strong, durable, and can be useful for starting fires. Paracord has 7 smaller strands inside it, so you can use it as is or take it apart to use the smaller cords. We recommend buying “550 paracord” so it can withstand 550 pounds of stress.
If you want an even more hardcore rope for survival situations, this survival cord has multiple kinds of cords inside it – such as one you can use for fishing and jute that makes excellent tinder for making fires.
So, it is easy to see why it is important to have cord on you; one of the easiest ways to make sure you have cord on you is by wearing a survival bracelet. Besides the practicality, paracord bracelets can be stylish, a great gift for outdoors people, and making them is a fun camp activity with kids, or adults! So how do you make a survival bracelet?
What you need to make a survival bracelet
Here are the things you will need to get started:
- About 10 ft of paracord (or other survival cord)
- Scissors
- Lighter
- Metal tool to squish down your melted cord
- A buckle
Paracord Bracelet Tutorial
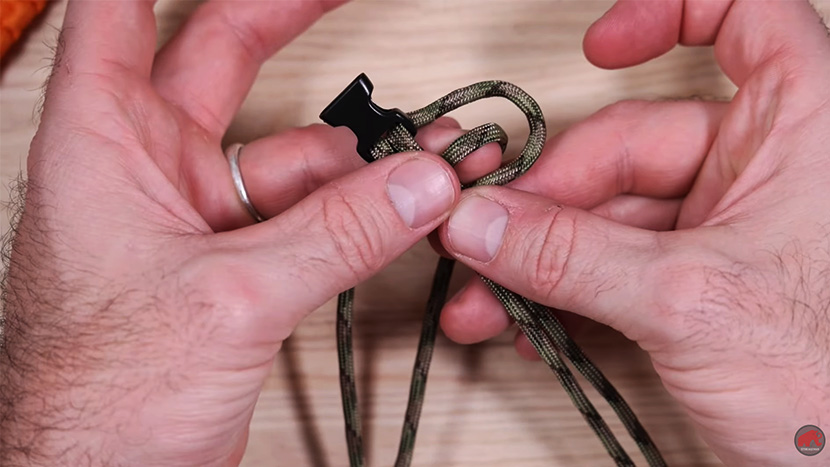
Once you have your stuff together, you can follow along with our video below! If you want to practice beforehand, the knotting we will use is often referred to as the Cobra Stitch. It is also sometimes called the Solomon Bar or Portuguese Sinnet.
Now, watch the video, follow along and have fun practicing!
If you liked this tutorial, make sure to check out our survival guide that has tips and tricks on survival, essential survival tools, important knots, plant knowledge, and even tips for surviving tricky wildlife encounters.

